
Adding a CNAME Record in cPanel
In this tutorial will be shown how to Add a CNAME in cPanel.
In this tutorial, we will show you how to create a CNAME record. CNAME records are a type of DNS record you can use to point a hostname elsewhere. While they aren’t needed by most users, there are situations where you will want to create a CNAME record for your domain. Such as when you point a subdomain to WordPress.org. We will show you how to create the CNAME recod in cPanel.
DNS changes (such as creating CNAME records) can take up to 24 hours to push out globally, or propagate.
Adding a CNAME Record in cPanel
1.Log into cPanel.
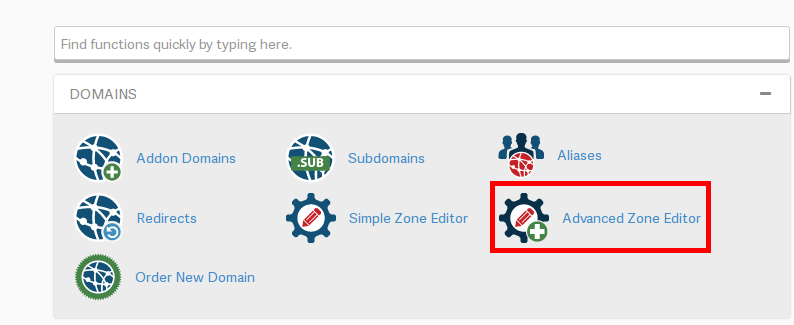
2.Click the Advanced Zone Editor button in the Domains section.
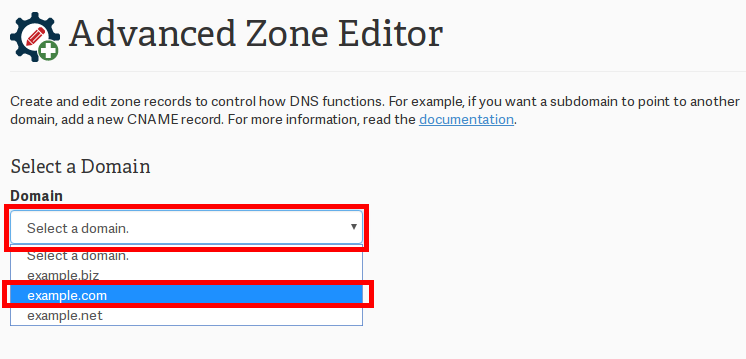
3.Click the drop-down menu, and choose the domain you want to edit the DNS for.
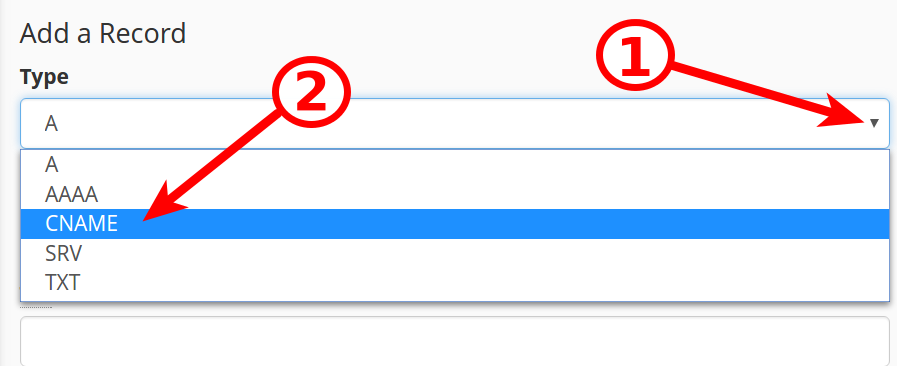
4.Click the drop-down menu under Type, and choose CNAME.
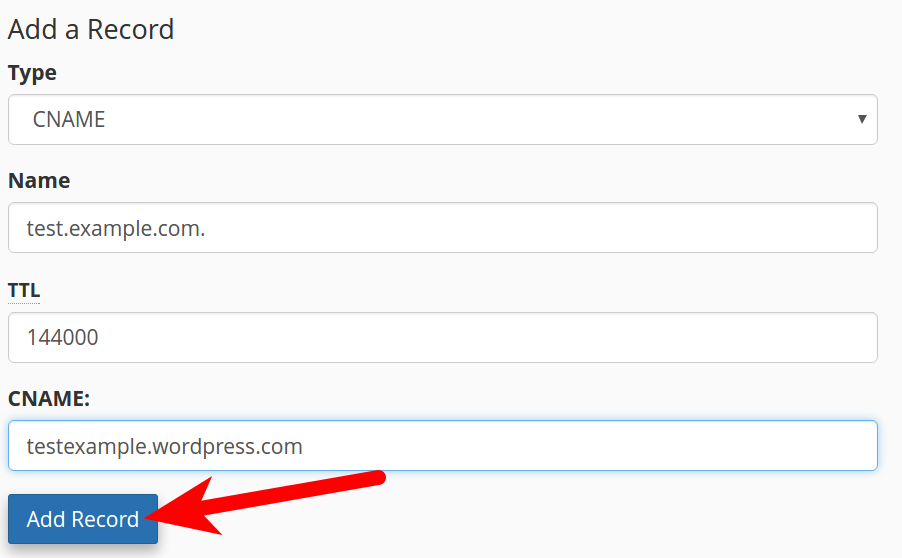
5.You will then see Name, TTL, and CNAME options. Below is an example of the options:
Option Description
Type CNAME
Name test.example.com.
TTL The default setting is 14400, or 4 hours.
CNAME testexample.wordpress.com
6.Fill them in as needed, then click the Add Record button.
7.You are finished when you see a message stating “The system successfully added the record.”

8.You will also see the new CNAME listed now.